Showing posts with label DIY. Show all posts

Tuesday, 8 January 2013

DIY sweater scarf & thrift-store treasures

I realize I haven't posted a DIY in a long time, so here's a quick and easy one. It doesn't even really require you to do anything. Hahaha. Those are the best kinds of projects, am I right?

Step 1: Go to the thrift store and find an OLD-MAN VEST in a pattern that you fancy.
Step 2: Throw the whole old-man vest over your neck and wear it as one of those circle scarves that still seem to be pretty popular this winter season (until people start shunning them a few seasons later, like UGGS). But when that happens, you can take it off your neck and start a new trend by wearing it like the old-man vest that it was always meant to be.

Optional (and recommended) Step: If you really don't care for the old-man sweater trend anyway and don't mind permanently ruining the vest, you can turn the thing inside out and hand-sew a line down each side of the vest to close the arm-holes and basically transform it into one long tube. This way, you can wear it as a circle scarf without people asking you why there are weird holes jutting out the sides. 

Speaking of thrift stores, I also have not blogged about my recent thrift finds in awhile. Well, actually I have not been shopping much lately (saving money for greater and more important things!) but here are a few items that I've accumulated over the past few months. 

***************************

I found these gold & pearl earrings at a thrift store and even though I would totally just wear them like that, they are a bit heavy so I think I'm going to cut them and make a few separate pieces of jewelry instead. The gold chain necklace in the back was $1 and I like that I can wear it with both casual and formal outfits (versatility!).
 Sometimes, I also use jewelry for other purposes... haha...
 Another interesting piece I got was this white blouse that was only 50 cents. Although I will have to sew the sides to make it more slim fit, the collar of this blouse caught my eye and I could easily wear it under sweaters and cardigans. 
 The shirt below I actually got from Value Village awhile ago, but since I haven't worn it that many times I suppose it's still "new". I like the black and white chevron print and the material is super silky. I would probably pair this shirt with a cozy-grey cardigan, gold necklace + watch, a high-waisted large-floral print skirt, and bright teal shoes. Can you imagine that? Sounds random but I swear it would work. How would YOU style this shirt? 
I saved the cardigans for last because I always think they're the best finds and I definitely wear them the most often! I found this cute doily-looking scallop-edged grandma cardigan at Value Village and even though I have another similar cream-coloured cardigan, I justified my purchase because this one is 3/4 sleeves and the other is long-sleeve. Yes... help me validate my reasoning. haha... 
And finally, my favourite recent purchase: this was the only clothing item I bought in the month of December so I guess it was a Christmas present for myself. It was $5 and I found it at the Vancouver Salvation Army on Granville Street. I saw it and said, "this will make me look like GINGERBREAD!!!" and immediately pranced to the cashier. 
I actually decided to wear this sweater the very next week during an engagement photoshoot with Mr. Potatohead. As I said before, I will be posting those pictures soon... but for now, here's a preview:
Haha... that tagline was just to shock my parents. Hi Mom & Dad. =) But they probably didn't get shocked anyway since they're used to my jokes by now. 

That's all for now. Hope you enjoyed this random post! =)

-Laura


Tuesday, 4 December 2012

DIY: floral hair wreath

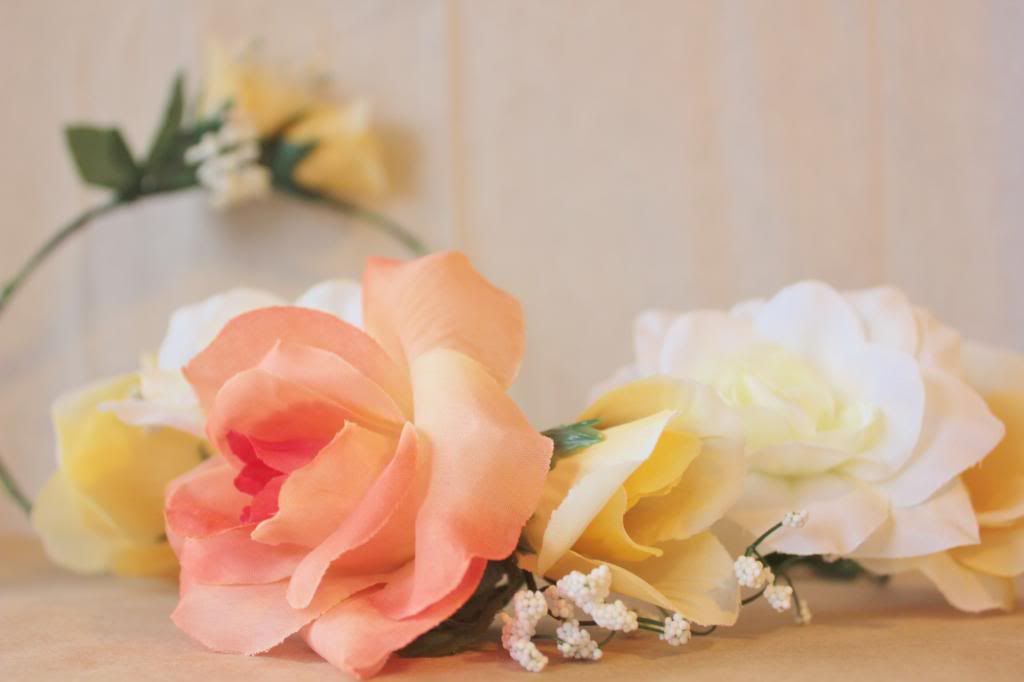
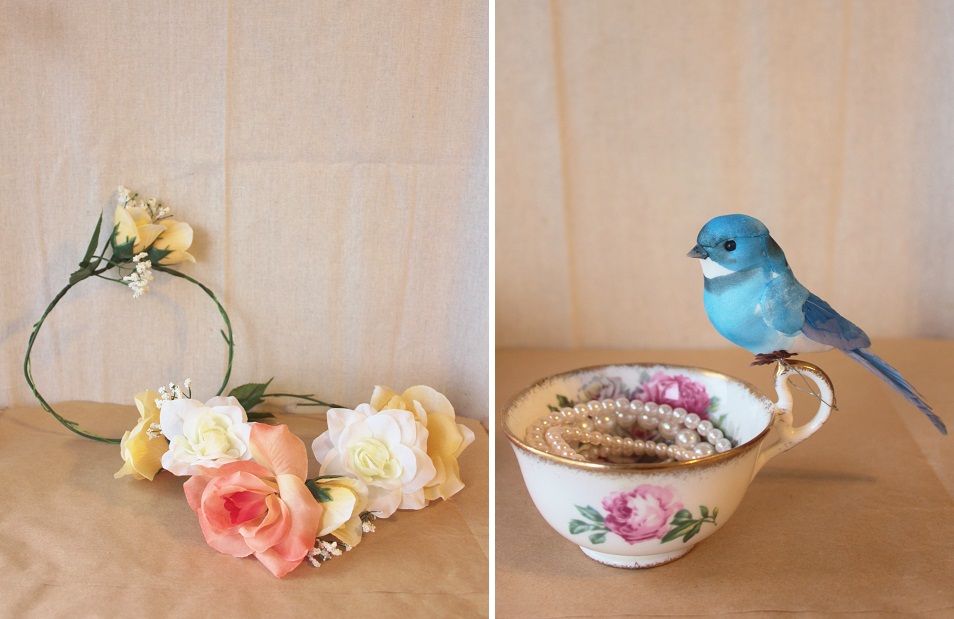
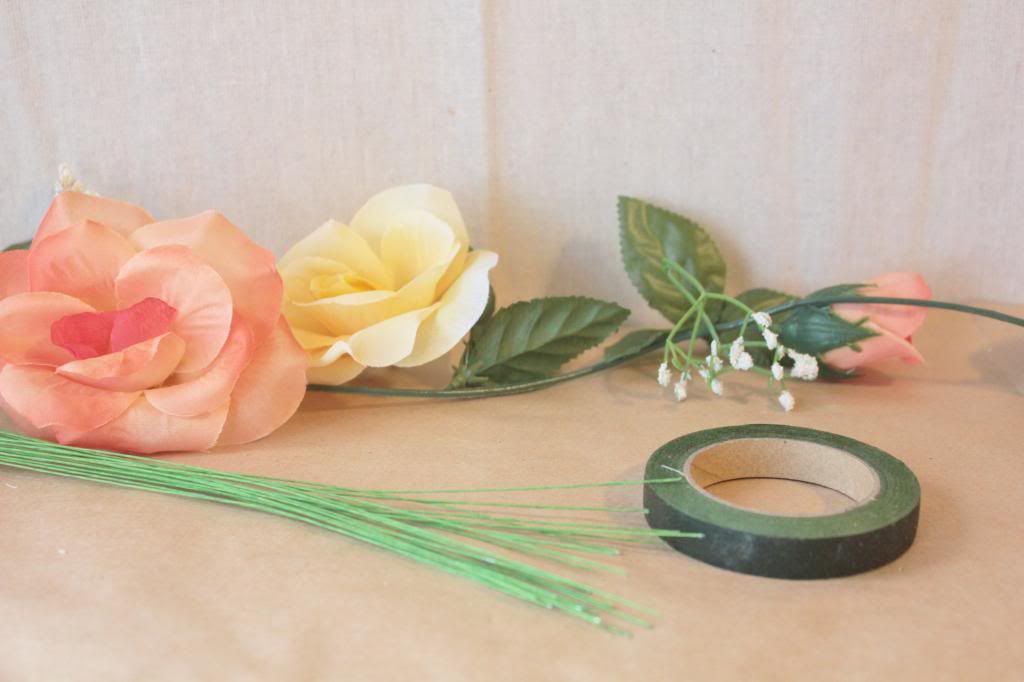
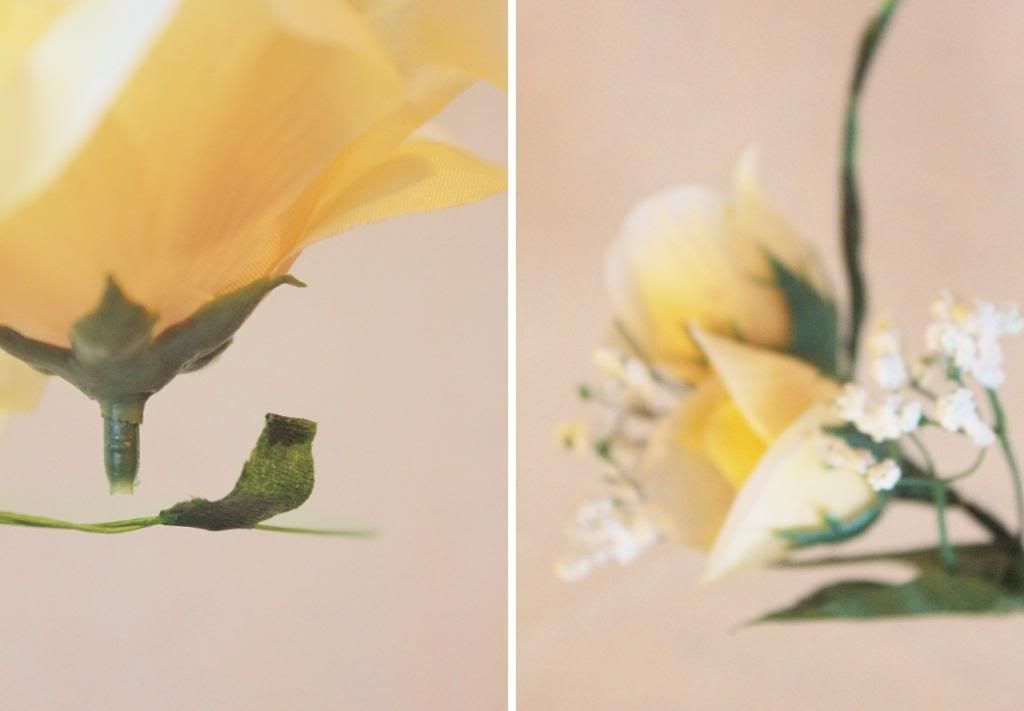
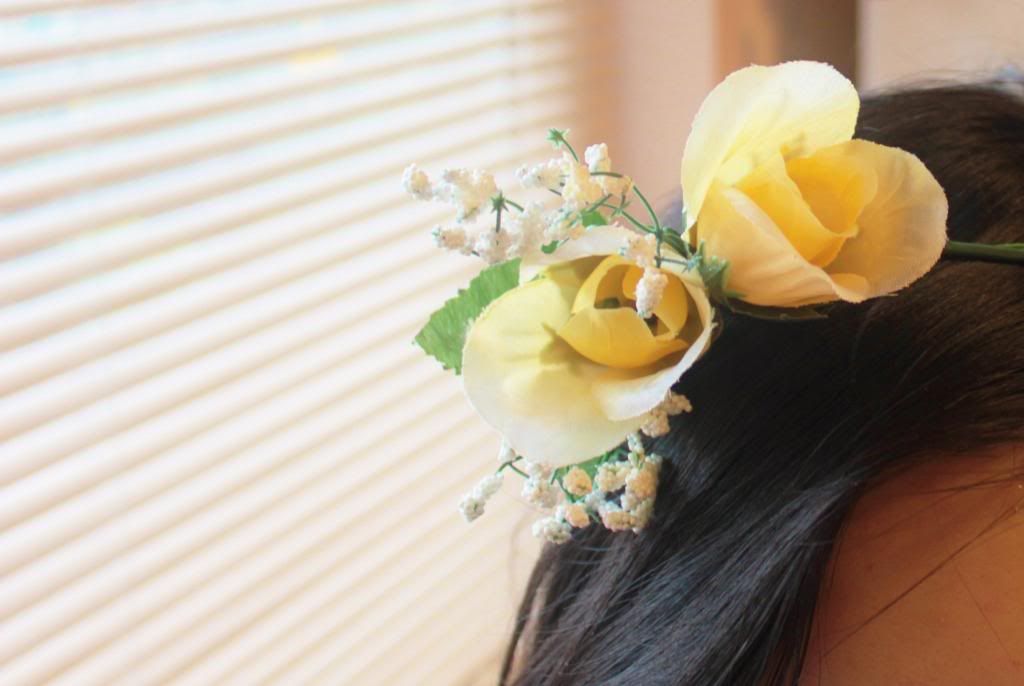
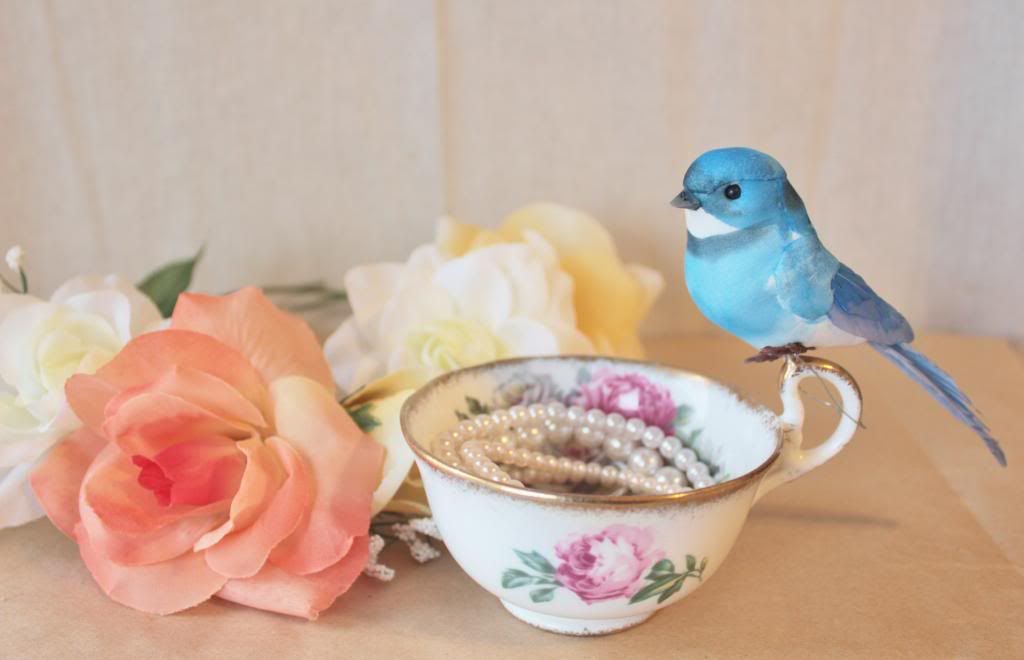
During such a cold and frosty December, it seems counterproductive to be making whimsical floral wreaths but that's exactly what I did yesterday, for no apparent reason other than the fact that I had recently acquired some floral tape and some pretty rose garlands from the dollar store. That was a good enough reason for me so here are some pictures from that little craft session and thankfully there was enough daylight to give off a pseudo-summery atmosphere. 

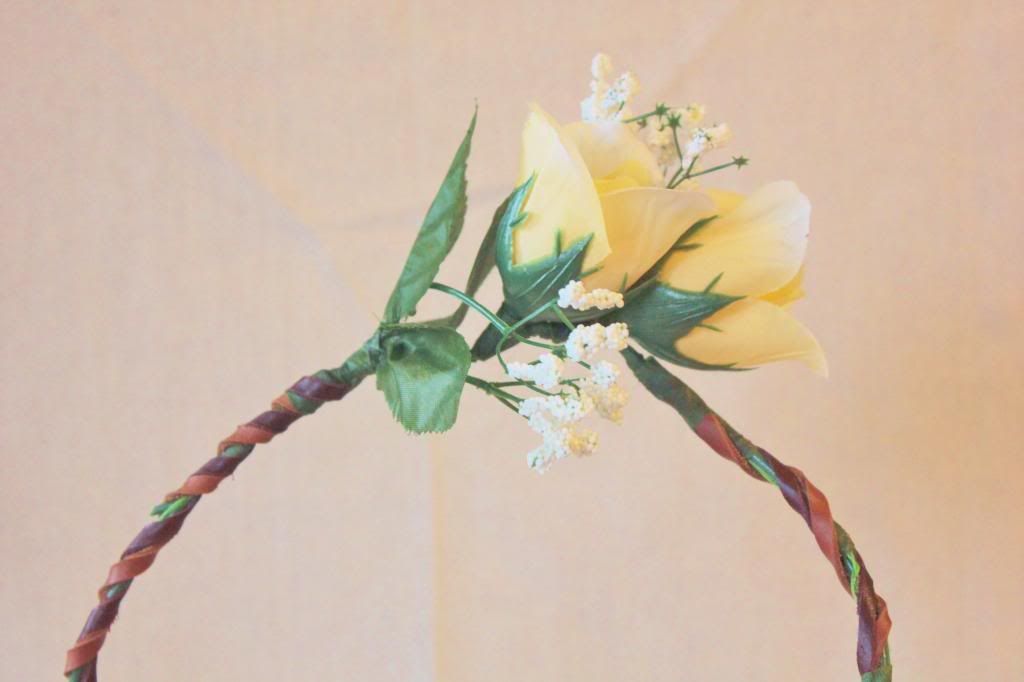
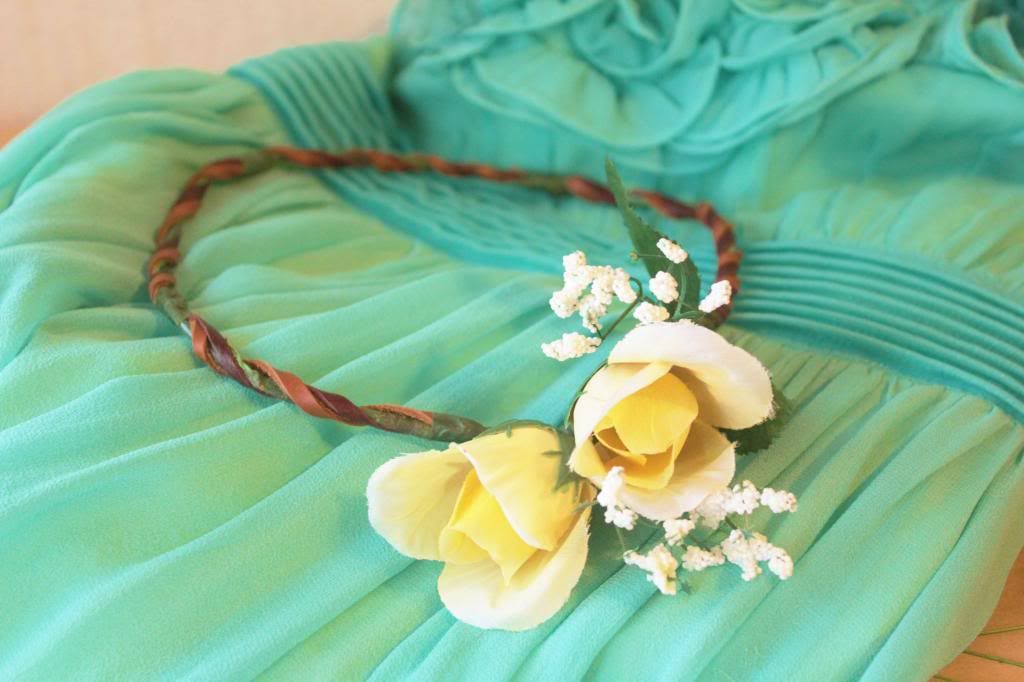
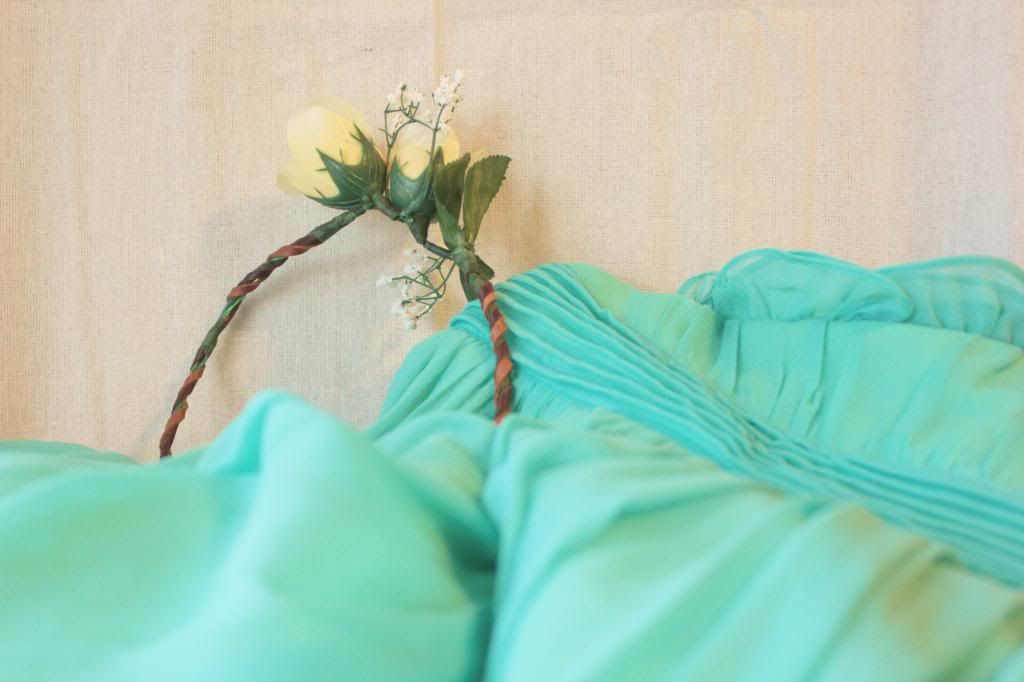
These floral wreaths are super easy to make: all you need are some flower garlands, floral tape, scissors, and (optional) green floral wire. First, I pulled all the flowers off the garland. Then I measured the size of my head and cut a length of the garland to wrap around as the wreath. I joined the ends of the garland firmly together with floral tape. I also wrapped some floral wire around the entire garland length to make the shape of the wreath extra secure. Then I arranged the flowers as I wanted them to look and attached them to the garland using floral tape. As an extra touch, I cut some leather scraps into thin strips and wound these strips around the whole wreath. I made two of these flower crowns - one with large flowers all around, and the other with two simple yellow rosebuds and a little bit of (fake) baby's breath. The large flower one looks too awkward and "costumey" in my opinion but I really like how the more simple, understated wreath turned out! 

The last step is to put the wreath on your head and prance around your room like some weird fairy nymph... but be sure to close your curtains before doing so.


Right now I am picturing myself dancing around in a meadow wearing that yellow floral wreath and my favourite mint green dress. In reality, here I am huddled over a computer screen, bundled up with a cup of hot chocolate beside me. 

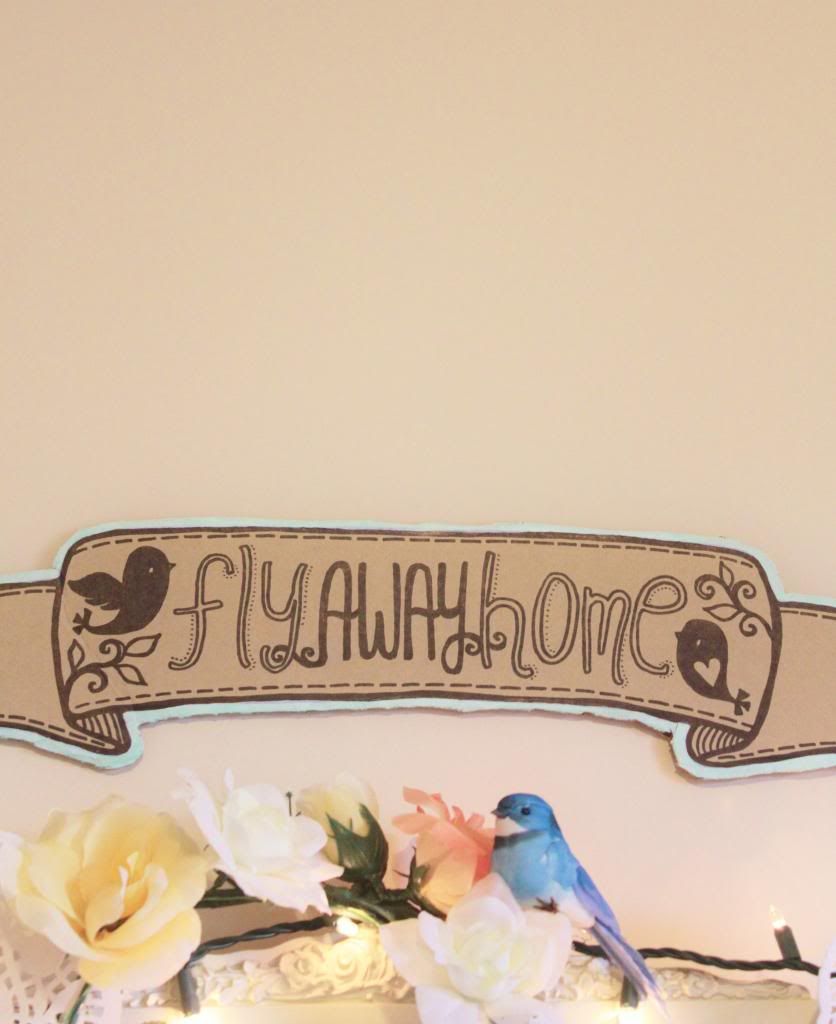
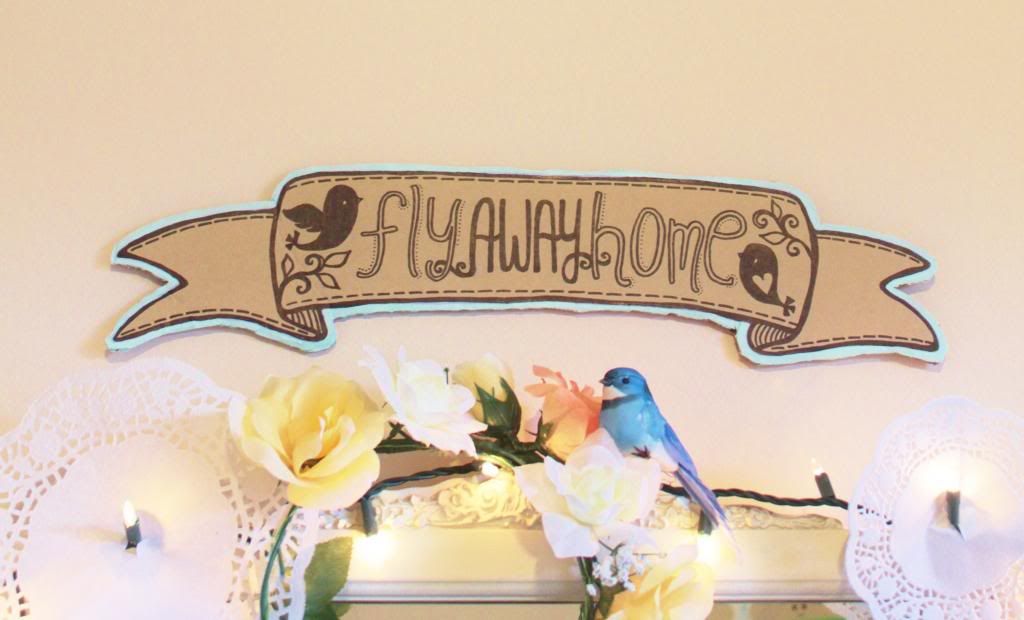
Side note #1: the "fly away home" sign was drawn on a scrap piece of cardboard one day and it currently resides above my vintage dresser. I painted the edges with mint green paint. Ideally it would be nice to have a wooden sign, but I suppose for now, cardboard will have to do. haha. You can make your own interpretation of what the quote means but it's something that's been on my mind for awhile. 

Side note #2: I finally have some links up on my DIY links page (it's just a compilation of all my old projects from this website) but at least it adds some organization to this chaos. Feel free to check out my old projects and I'll be sure to add some more to the list soon! =)

Side note #3: I went to my work party this week (it was a painting party!) and I got to paint something that incorporates a lot of the elements in this post (such as mint green, flowers, a bird, and a floral wreath!). I'll be posting that painting later on this week! 

***

so...check back soon ;)

-Laura


Wednesday, 21 November 2012

DIY: Burger Shoes

I am obsessed with BURGERS. So when I found some red sneakers for $5, I just got them even though I never wear sneakers, just so I could paint burgers on them. I think they'd look good with a Ronald McDonald costume wouldn't they? And don't ask me why I made a giant laminated paper burger. I just did. (Okay actually, I made it to teach paragraph writing during my practicum. HAHA! Burgers make English more interesting in my opinion... for the students, and for me). Anyway, does anyone have any ideas on how to "seal in the paint" on these shoes so it doesn't crack? I was just thinking of taking them to work and pouring acrylic varnish over the tops.

By the way, these pictures are from late August - back when the sunshine still graced us Vancouverites with a few rays here and there. Nowadays I'm getting served a daily dose of November chills with a side of hypothermia... but nothing a warm juicy burger can't fix. I now present to you... my burger shoes!!!


And here are some other random pictures of gifted burger paraphernalia! 


Seriously though, I should stop collecting burger things. Every time I look at my collection I get HUNGRY.


Friday, 2 November 2012

Fall Festival!

Aside from making my costume this week, I was also in charge of making this mural for Fall Festival. My friend Angel asked me to make it and of course I was up for the challenge FUN!!! I've always thought owls are very stereotypically "autumn" animals so I thought it would be cute to do a mural featuring little felt owls with different personalities... for example, the farmer owl raking leaves... the coffee-addicted owl up in the tree... and the aloof wild-card pumpkin owl who's just a wee bit insane. Oh and by the way, if you scroll down below, can you guess what my friend Pauline is dressing up as? Hahahaha I really had no idea until she explained it to me. HAHA. Take a guess and then click HERE for the answer! 


After awhile, Mr. Potatohead and I thought it would be cool to get a picture of a peanut butter & jelly CHEST BUMP. So we attempted it... many... MANY times. Look at those faces of intense concentration!


This particular shot is hilarious because it was this attempt that made me totally wipe out and CRASH into that wooden door behind me. HAHAHA. Oh man.


After that fiasco, you can obviously see that we switched sides to prevent more door crashing. It also looks like I'm awkwardly curtsying. 


Eventually we got a half-decent sandwich-smush... after about 20 takes. Maybe I should make the whole ordeal into an animated GIF! 


Now that the whole thing is over, I've got four pieces of cardboard toast with nowhere to put them. But it's a shame to recycle them so quickly, don't you think? 


Thursday, 1 November 2012

DIY: cardboard costumes

I never seem to have time to make a costume until the very last minute and this year, I was in the exact same scenario. I helped out with my church's Fall Festival this year which started at 6PM. At 5:30PM, I was still at home trying to dry the paint on my costume with a blowdryer. hahahaha. Anyway, it all worked out and I got it done just in time! This is probably the most low-budget costume ever because it's just cardboard and paint. Enjoy =)

It's pretty obvious how to make these costumes but here are some simple instructions:
1) cut out the cardboard toast pieces
2) paint the cardboard a "bread colour" (white, cream, or tan)
3) drizzle paint in the middle and paint a giant splotch for the peanut butter or jelly
4) for the backs of the toast, I painted them white then dabbed on brown paint with a sponge
5) use a dark brown colour to paint the edges of your toast
6) cut thin strips of leftover cardboard to make straps
7) attach the straps to your pieces of toast using packaging tape or a glue gun

Now your peanut butter (and/or) jelly sandwich costume is done and you're ready to parade around in it awkwardly! (it's not the most mobile costume) hahaha. 


The kids at the event were really cute. Some little girls would shyly come up to me and ask if they could touch the jelly while active little boys would grab the piece of cardboard and try to take a bite out of my costume. Some kids would run up to us and read the words on the back, yell out "BETTER TOGETHER!" and then quickly run away. haha. 

Another funny thing is that I got to the event first and Mr. Potatohead came an hour later. For that first hour, I was walking alone with the word "BETTER" on my back, and I had at least 4 people ask me if I had spelled "BUTTER" wrong (WOW, thank you for insulting my intelligence and my competence as a former English teacher). haha. I had to explain that my other half, THE PEANUT BUTTER SLICE was on his way and that he was supposed to complete the message. When he showed up, my costume FINALLY made sense, proving that we are indeed Better Together. hahaha. 

=)