Showing posts with label flowers. Show all posts

Tuesday, 4 December 2012

DIY: floral hair wreath

During such a cold and frosty December, it seems counterproductive to be making whimsical floral wreaths but that's exactly what I did yesterday, for no apparent reason other than the fact that I had recently acquired some floral tape and some pretty rose garlands from the dollar store. That was a good enough reason for me so here are some pictures from that little craft session and thankfully there was enough daylight to give off a pseudo-summery atmosphere. 

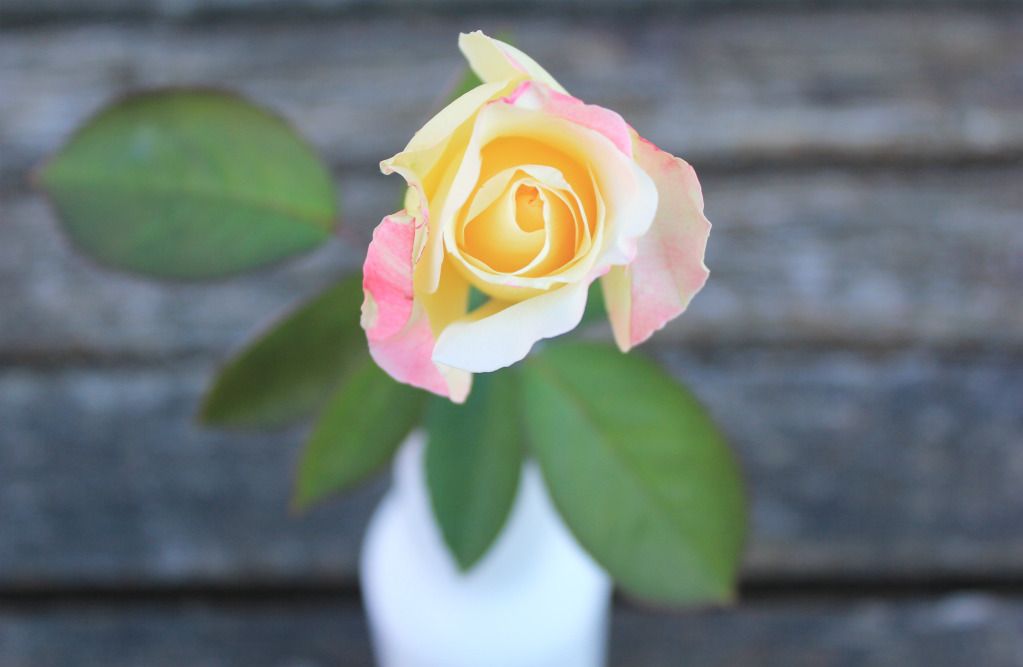
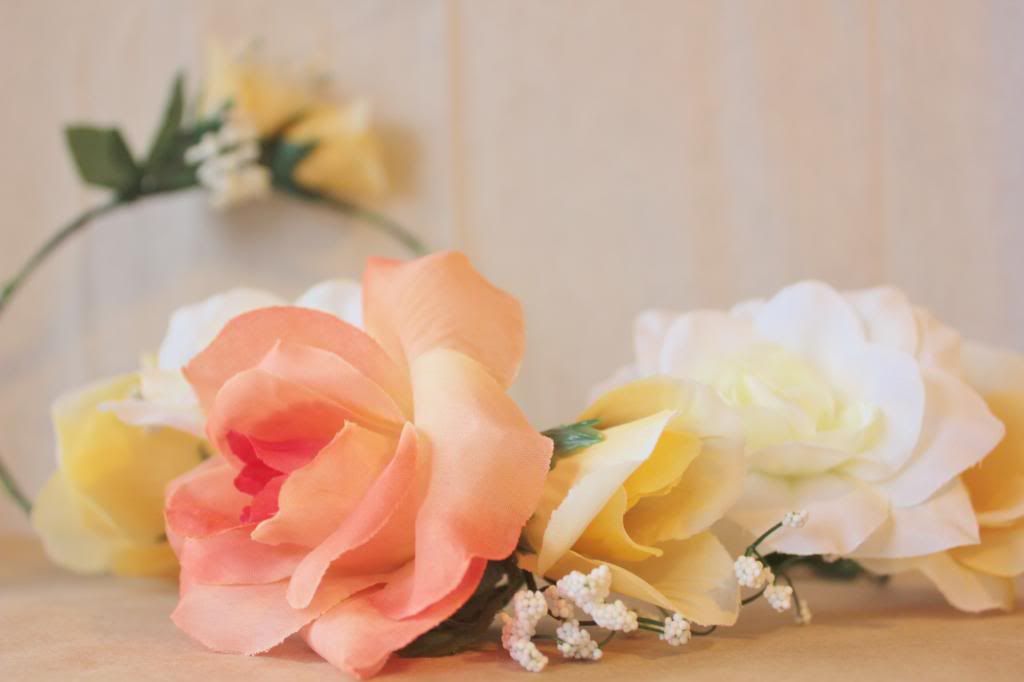
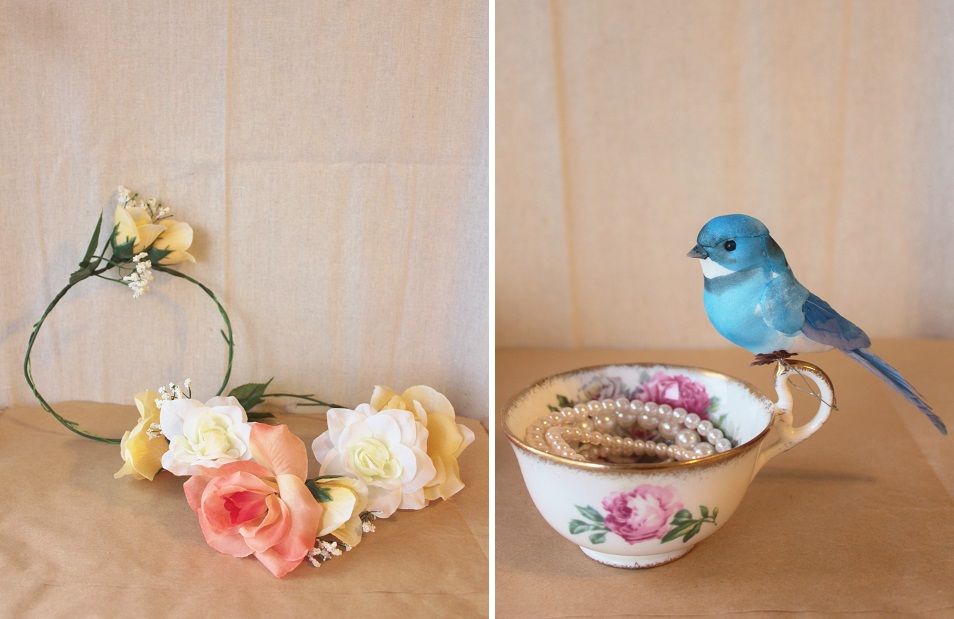
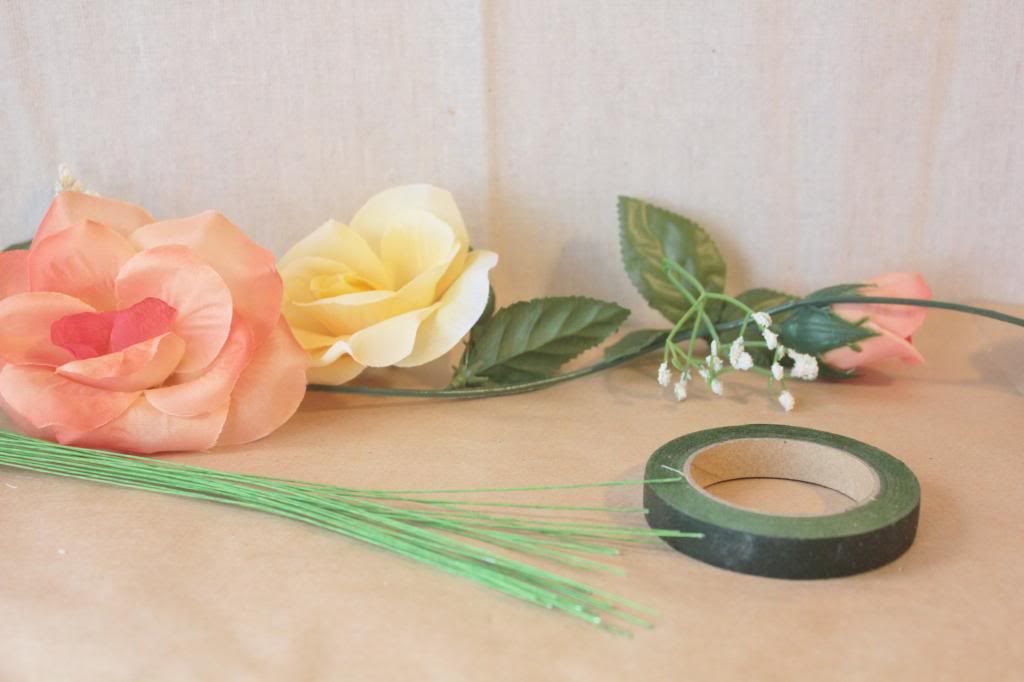
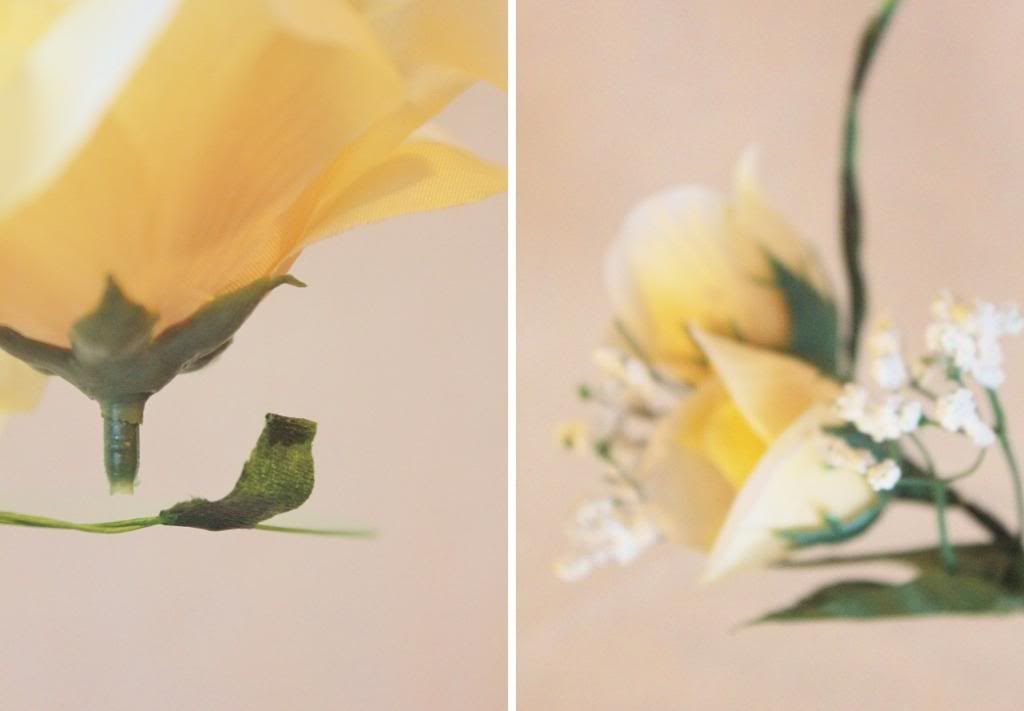
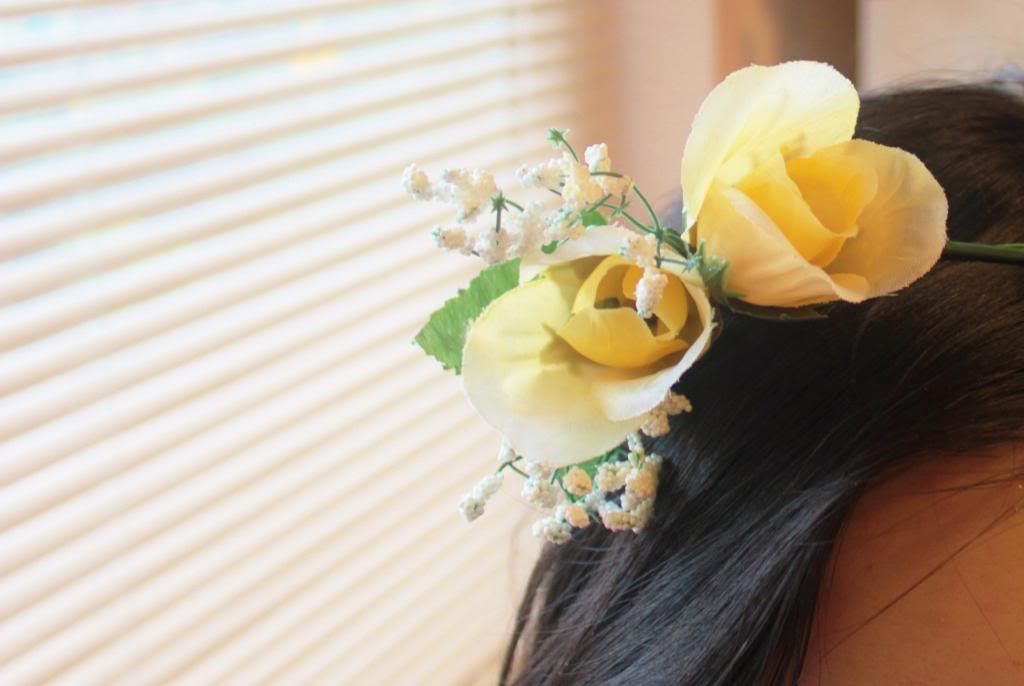
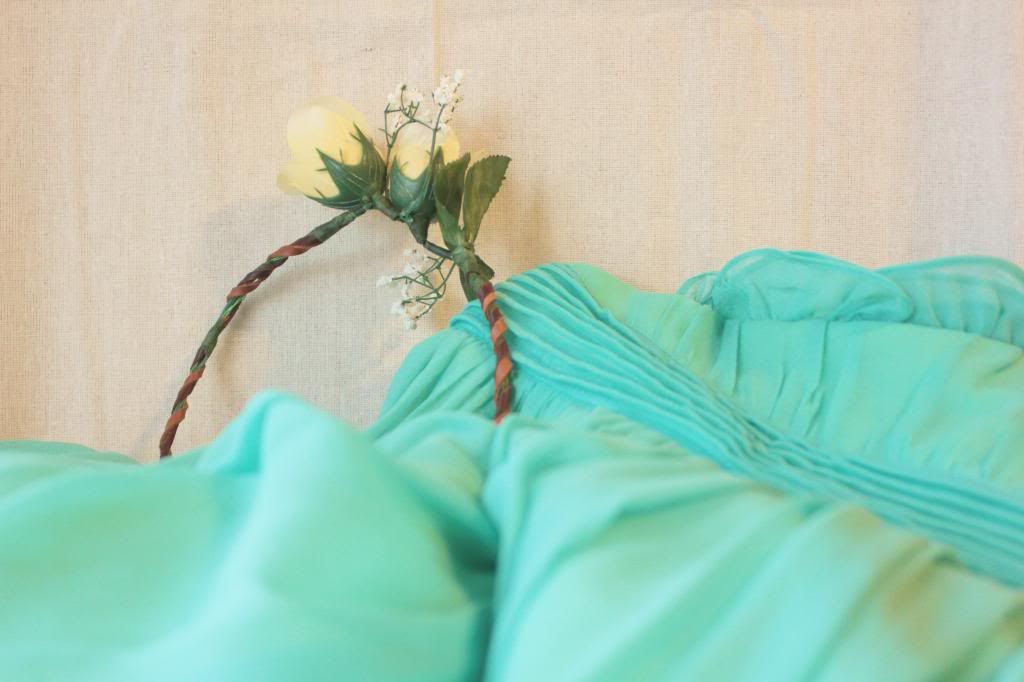
These floral wreaths are super easy to make: all you need are some flower garlands, floral tape, scissors, and (optional) green floral wire. First, I pulled all the flowers off the garland. Then I measured the size of my head and cut a length of the garland to wrap around as the wreath. I joined the ends of the garland firmly together with floral tape. I also wrapped some floral wire around the entire garland length to make the shape of the wreath extra secure. Then I arranged the flowers as I wanted them to look and attached them to the garland using floral tape. As an extra touch, I cut some leather scraps into thin strips and wound these strips around the whole wreath. I made two of these flower crowns - one with large flowers all around, and the other with two simple yellow rosebuds and a little bit of (fake) baby's breath. The large flower one looks too awkward and "costumey" in my opinion but I really like how the more simple, understated wreath turned out! 

The last step is to put the wreath on your head and prance around your room like some weird fairy nymph... but be sure to close your curtains before doing so.


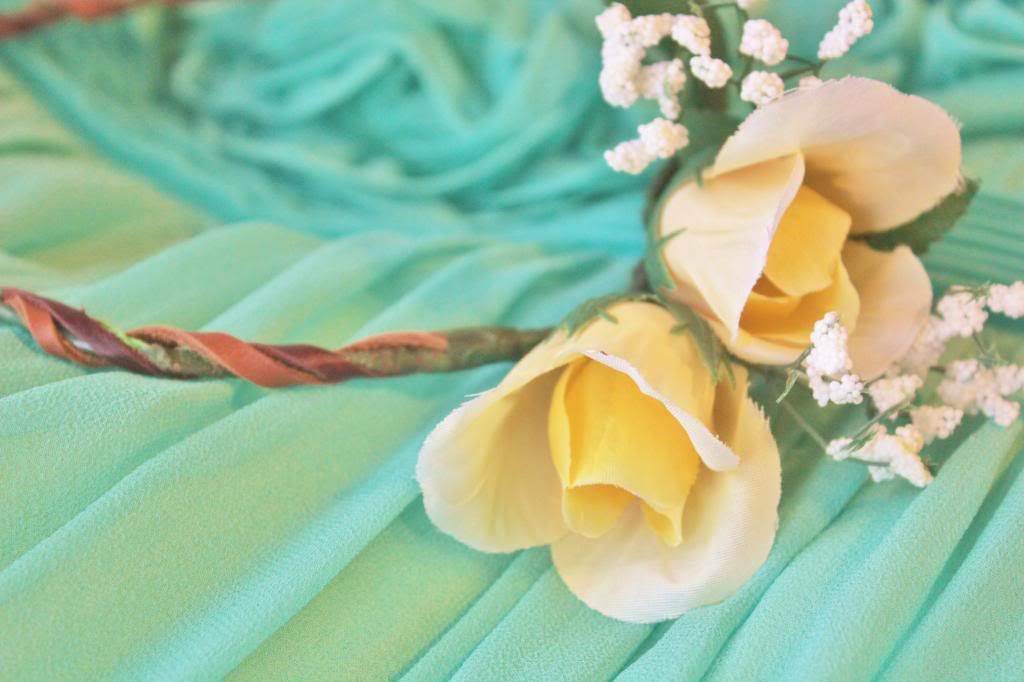
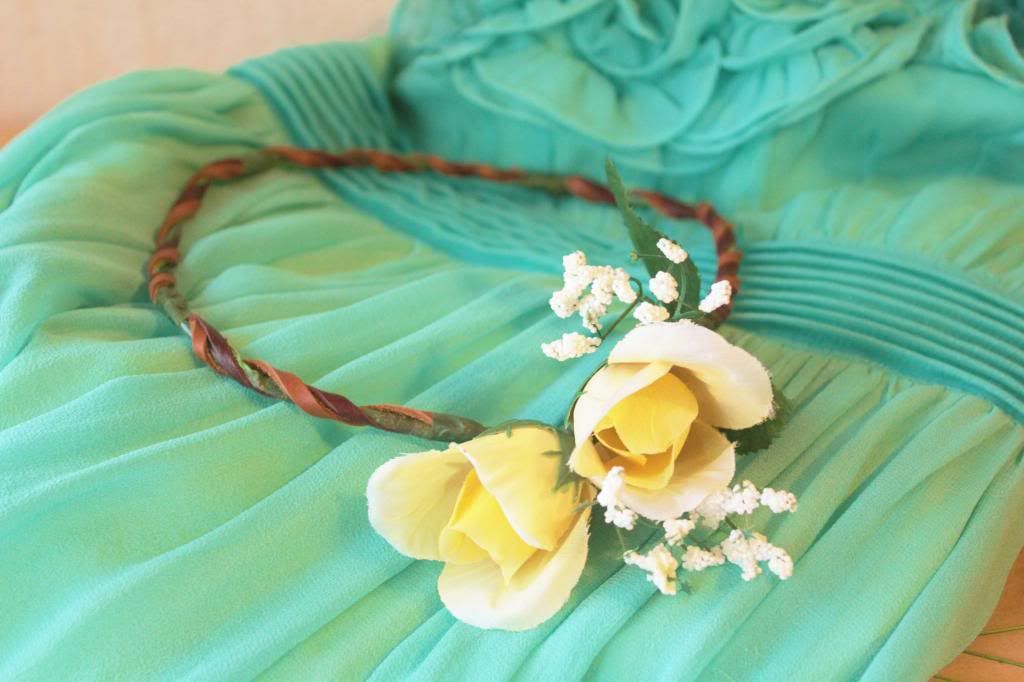
Right now I am picturing myself dancing around in a meadow wearing that yellow floral wreath and my favourite mint green dress. In reality, here I am huddled over a computer screen, bundled up with a cup of hot chocolate beside me. 

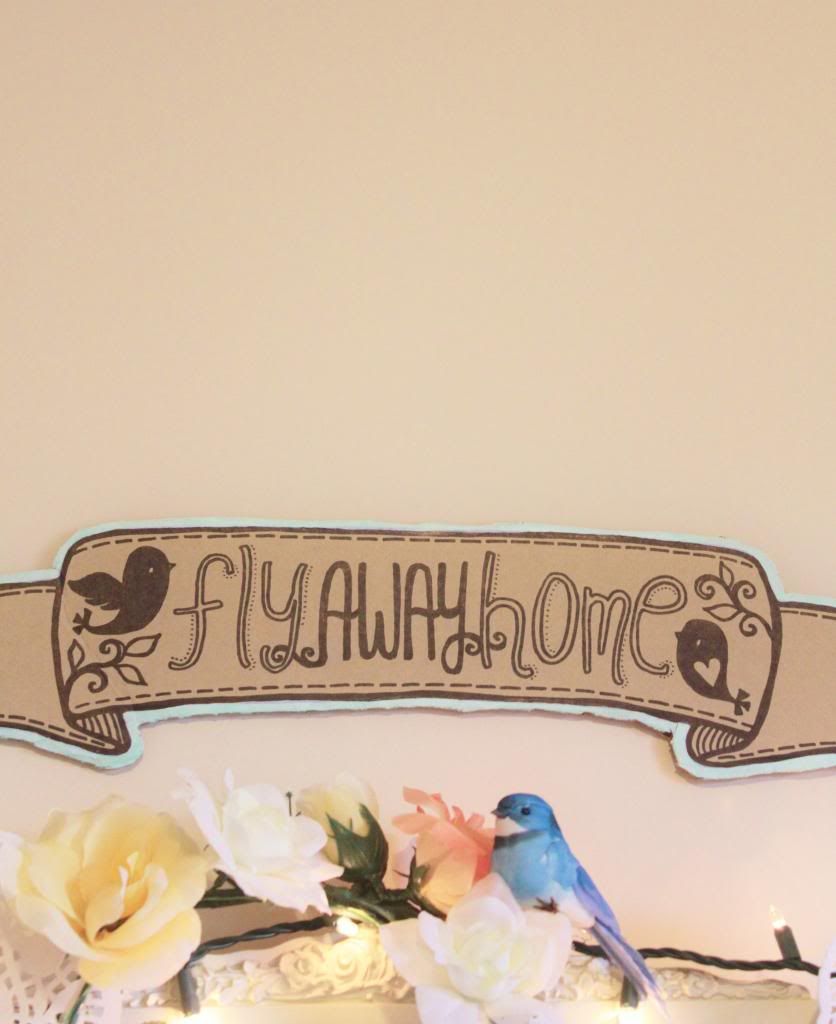
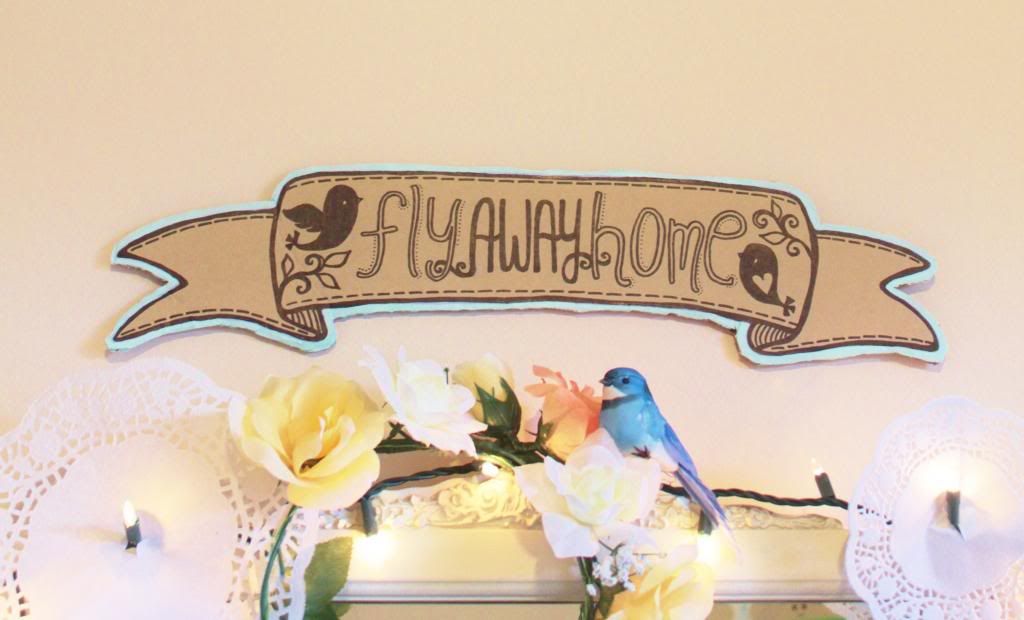
Side note #1: the "fly away home" sign was drawn on a scrap piece of cardboard one day and it currently resides above my vintage dresser. I painted the edges with mint green paint. Ideally it would be nice to have a wooden sign, but I suppose for now, cardboard will have to do. haha. You can make your own interpretation of what the quote means but it's something that's been on my mind for awhile. 

Side note #2: I finally have some links up on my DIY links page (it's just a compilation of all my old projects from this website) but at least it adds some organization to this chaos. Feel free to check out my old projects and I'll be sure to add some more to the list soon! =)

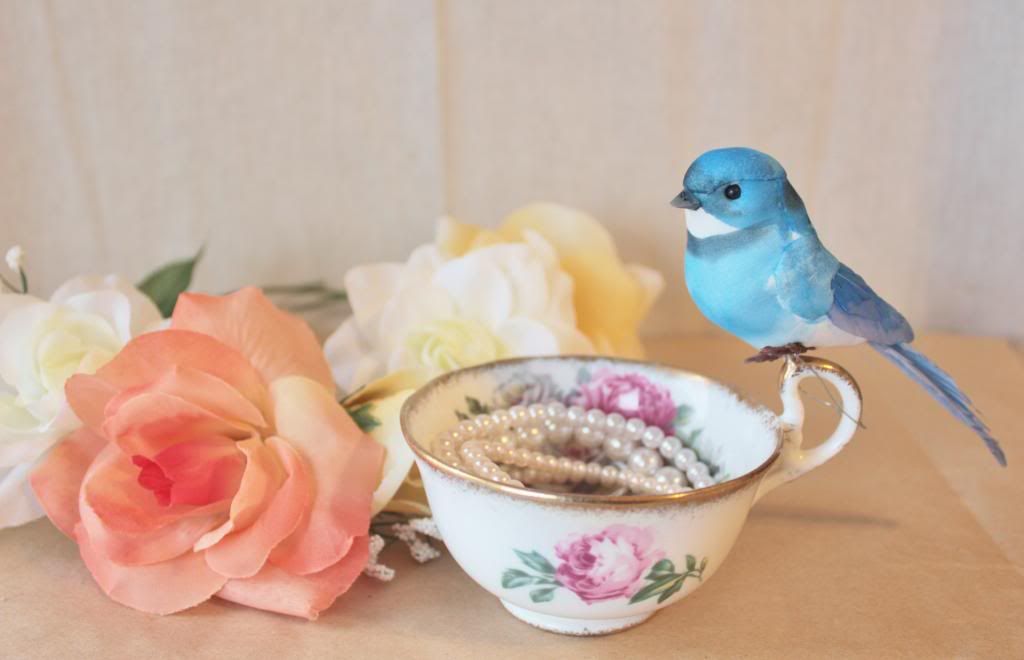
Side note #3: I went to my work party this week (it was a painting party!) and I got to paint something that incorporates a lot of the elements in this post (such as mint green, flowers, a bird, and a floral wreath!). I'll be posting that painting later on this week! 

***

so...check back soon ;)

-Laura


Tuesday, 23 October 2012

oh deer me

Finally used my new PENCIL CRAYONS today. I've been surrounded by art all weekend at work - getting my face and clothes splattered with paint, and helping other people with their paintings - but today I finally had some time to do some of my own art. I've been thinking of drawing something with flowers, deer antlers, and antique keys for a long time, so I finally combined all these elements into an artpiece (although I apologize profusely for the sad, punny title). Anyway, before this I hadn't used pencil crayons in YEARS, so it was amazing fun just sketching away like a kid with my fresh pack of coloured Crayolas.


What do you think? Do you like the semi-creepy black and white version, or the coloured finished product?
 
In other random news, I just hit 100 followers! Yay!

=)


Monday, 1 October 2012

I'm thankful for... relaxing walks in the neighborhood

Today at church, the sermon was on thankfulness. The pastor talked about how one woman who had experienced many tragic events in her life started slowly writing a list of 1000 things that she was thankful for and how practicing an "attitude of gratitude" is something that can positively affect all other areas of our lives. It was a great reminder for me. A few years ago, I did start writing a random list of everyday things I was thankful for but it was on a scrap piece of paper that I probably accidentally threw out. So, I want to start a new list... and there's no better day to start than TODAY. I've decided that every Sunday I'm going to try and post about one thing I'm thankful for.


So, here's THING #1:


One of my favourite activities is to take walks in my neighborhood... or anywhere outside really. And today, I got to do just that with Mr. Potatohead. It's getting colder these days in Vancouver, but if my parents can take daily outdoor walks all-year-round, so can I! hahaha. So I brought my coziest grandma sweater, my favourite potato-sack backpack, and my trusty camera on a nice stroll outside. After only taking a few steps out of my house, I found some wildflower bushes by the side of the road... here's my favourite shot of these gorgeous coral flowers!


Afterwards, we followed the yellow concrete curb that ran all along the side of the street. I like how Mr. Potatohead is on his iPhone while I am... just... happy to be outside! (a little too happy)...

Oh and in case you're wondering about outfit details (even though you're probably not), here they are:
me: grey cardigan - Forever 21 // floral shirt - Uniqlo // maroon pants - Zara // canvas backpack - Baggu // oxford shoes - random Hong Kong store
Mr. Potatohead: jacket - unknown // jeans - unknown // shoes - unknown // style... unknown. HAHAHA.


Near the end of our stroll, I picked up two rocks from the side of a construction site. And yes, I brought them home because I intend to paint on them. I almost wanted to take a whole pile of branches home too, but I refrained. One project at a time... haha. Oh and by the way, did you notice the tree had a big eye? creepy...

Anyway, that's one wonderful little thing that I love - going on outdoor walks! :)

What's one thing you're thankful for?


Saturday, 29 September 2012

wedding post #3: mason jar centrepieces!

I know designing our centrepieces is not exactly the most important thing to think about during the first stages of planning a wedding, but Mr. Potatohead and I were going over our budget the other day and we ended up thinking about decorating our reception tables. haha! To go along with our woodsy vintage theme, we decided to use mason jars as our centrepieces. We immediately went on Craigslist to look for them and lo and behold! The first link we clicked on was a listing for 35 small ones (250ml), 50 medium sized ones (500ml), and 12 big ones (1L) - all for $50!!! It just so happened that a couple who recently got married had also used them for their centrepieces and of course, post-wedding, now had boxes of unused mason jars stored at their home. So of course I made the hour-long drive to retrieve these babies!

Oh how I love Craigslist. The previous bride had meticulously glued lace trim on all the jars. At first, I wasn't a big fan of the lace but when I saw the jars in person, the lace fabric actually looked really cute and dainty. I must say, the bride did a great job putting the DIY lace on these jars.


So, Mr. Potatohead and I now have part of our centrepiece display! Mason jars are so versatile. I think they would look great with a bloom of peonies, a simple bundle of baby's breath wrapped with twine, or romantic tealights to make the jars glow in a darker venue. Here are some of the inspiration pictures that I absolutely love. By the way, I love the floral tablecloth in the first few pictures... perfect for a garden wedding!


So many simple yet gorgeous DIYs!!! Now the hard part is choosing which look to go with! ;) What do you think of mason jars? Which centrepiece is your favourite look? 

Oh and by the way: I was truly ecstatic to get so many comments about CRAZY MONKEYS in my last post. haha. LOVE IT.


Tuesday, 11 September 2012

DIY: white vases

When it comes to flowers, I really like the look of a few wildflowers placed in a simple white vase as opposed to ginormous bouquets and fancy flower arrangements. So I decided to try out this cheap and easy way to make white "porcelain" vases.

All you need is an empty glass bottle and white spray-paint. I used a white gloss spray-paint but you could also try a matte finish. After washing and cleaning the bottle, spray a couple coats of white paint on the bottle and voila! You're done! 


To be honest, I was thinking of using these as part of our wedding centrepieces next year, since it's pretty easy to ask all my friends for empty bottles and mass-paint them all in one go. But we're still deciding on the style of the wedding (probably because of me, the indecisive one! haha) so we'll see what we actually end up doing. I still wanted to try this DIY though and I think it turned out nicely.